Use And Install Roku Stick: You must have heard of Roku Stick, if not then it is like a streaming software which helps in downloading your desired videos from the internet and let you play them straight from your television. All channels in Roku is not for free but there are some of the channels where you can stream for free.
Here is the list of top 10 channels of Roku which are completely free and these channels are as follows:
- The Roku Channel
- CBC News
- Pluto TV
- XUMO
- Nosey
- Stadium
- Adult Swim
- Tubi TV
- NewsON
- Hoopla
If you are planning to set up Roku Stick, then you must know the proper way to install it. With the help of this article, we are going to how to use and set up Roku Stick if you are a beginner.
Note: One must make sure that you must have a stable internet connection in order to enjoy Roku streaming stick without any interruption.
While setting up the streaming device of Roku you have to go through some considerable steps. We have briefed all the steps in a very simple and easy way so that you can easily understand the process. The steps to use and set up Roku Stick comprise of the following….

Step 1: Connecting Roku Stick with TV
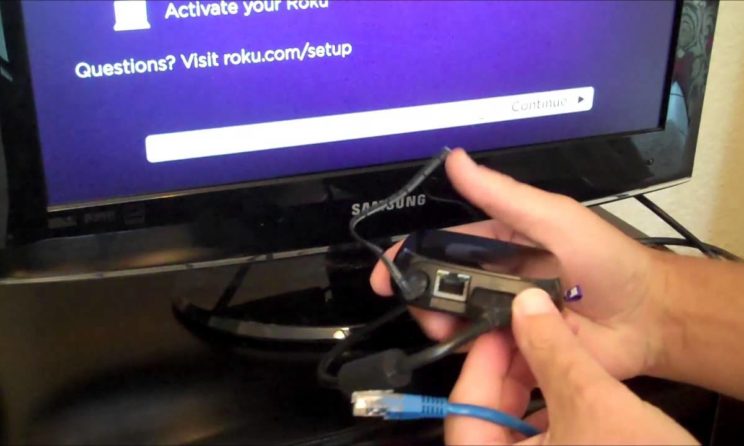
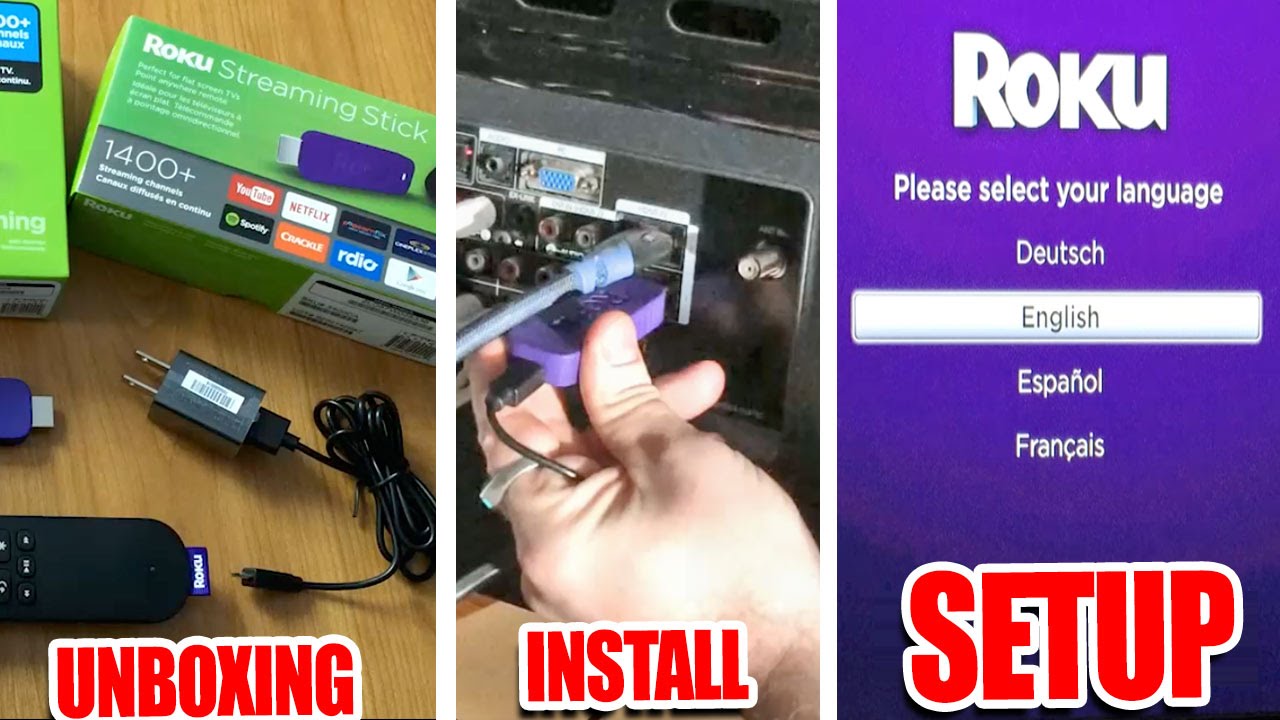
At first, you have to install the stick in your TV’s HDMI port, for which you have to just insert it in the port first.
As soon as you connect the stick to your TV turns on it. At this time make changes in the settings to adjust it into the HDMI channel. After this, you just have to press the Source button of your TV’s remote after which you can make changes.
Step 2: Setting up Roku Stick with the Guided Setup Wizard
The guided setup wizard is going to give you complete assistance in order to get started with the Roku streaming stick. In the beginning, the first thing to appear on your TV screen will be Roku logo and after it, the setup wizard is going to take place.
So, at first, you have to insert the batteries in the Roku streaming stick remote that you are going to get along with the stick.
On-screen prompts will appear, follow that.
Initially, it will ask you to select a language, pick your preferred language and click on OK.
The list of Wi-Fi connections will appear next. Choose the Wi-Fi network and enter the password.
Before you even know it, Roku will connect with your network.
Step 3: Creating a Roku Account
Create a Roku account with the help of your web browser search for myroku.com and sign up.
Now, you have to fill a registration form in order to create your account.
Just like any other accounts, you have to fill up your name, email and set up a strong password for security purpose.
You have to again confirm your password.
After you will complete the registration form you will have to then click on Continue.
Now create a PIN to decide who can add channels on Roku, after which again click on Continue.
Lastly, you are going to observe the billing information but it is completely optional. If you want, you can skip it or can make purchases with Roku.
Step 4: Connecting Roku Stick with your Roku Account
The screen is going to appear having a six-digit code, see that digit and note it down.
Once more type myRoku.com/link and it is going to lead to you to your Roku account.
Now fill in your six-digit code here, which appear earlier on the screen.
Your streaming stick along with your account have finally connected.
Step 5: Set up Other Settings
Now it is time to make additional changes in order to get a flawless streaming experience. You can choose your desired display type, Audio type, limit ad tracking, setup theme, set time, and much more as per to your preference. And now you are all set to add your desired channels on your Roku stick.


