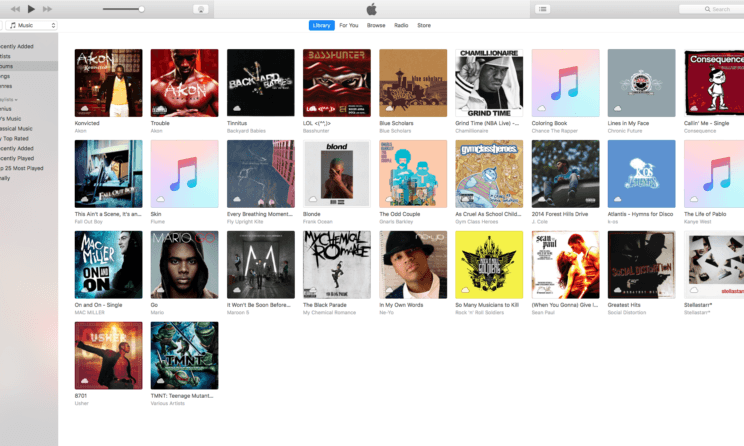
Transfer iTunes library to a new computer: Song library is something which cannot be created overnight. It takes years to build a full-fledged iTunes library and most music lovers can relate to this. So if you have a full-fledged music library on iTunes which you have made over the course of years or months, you would want to transfer it to a new computer which you have bought recently. Transferring the entire iTunes library is not very easy music iCloud. It will help you in transferring only a small number of songs from the library. So how to transfer the entire iTunes library from one computer to another?
Well, Apple has already thought this for you and has introduced a new feature called the migration assistant which will help you in transferring the entire iTunes library to a new PC. We have discussed the entire procedure of using the migrant assistant to transfer the iTunes library to earn. Hence, it is really easy to transfer files of iTunes from one device to another. So let’s skip directly to the steps of using the migration assistant.
How to Transfer iTunes library to a new computer?
Step 1: Consolidate the Files
Before getting started with the migration assistant, the user needs to ensure that all the systems are up to date and the files in it are consolidated. Update iTunes to the latest version available on both the PC and also make sure that the windows are updated. Now go to iTunes and prepare for backup if you need. Then go to the library and click on organise the library. There you had filed an option called consolidate files. Select this file to give a quick clean up to the entire iTunes library and get it prepared for transfer.
Step 2: Start Migration System
The very first step to use the migration system connects both the computers. The computer from which you have to transfer the files has to be connected to the computer where you want to receive the files. They can either be connected to the same wireless network or an ethernet cable for fast transfer.
Now go to the new computer and open the application folder by going to the dock. Select Utilities, then select the migration system. Thereafter, the device will ask you for the confirmation of starting the process. Click can continue after checking everything. Here you will also have to select the operating system of the sender and receiver computer accurately. It can transfer files from Windows to Mac or vice versa without any trouble.
Step 3: Migrate on your old Pc
Now it’s time to go back to the Old Mac or PC from which you want to transfer the file. Open the migration assistant in this PC as well by following the same procedure as used on the other PC. Click can continue after turning on the migration assistant. Now go to the new computer and confirm that you want to receive the files from the particular drive like the times back up. A security code will be displayed on another device to ensure that the transfer takes place smoothly.
Step 4: Select Data to transfer
Now you have to select the information that you have to transfer to the new computer. This option automatically comes up after the source code is verified. Go go to the music library and select all the files that you want to transfer to the new computer or PC. Once all the files to be transferred are selected, click on confirm the transfer and the files will be successfully transferred to the new pc. In this way, you get girls for the entire iTunes library to a new PC


